About this deal
To start off, remove any brush heads from the top of the handle. Stand the toothbrush tip-first in hot water (60 degrees C) for 5 minutes to soften the plastic and make the ring easier to remove. Use the screwdriver to pry off the plastic ring from around the shaft. Note that the ring is stepped so you might need to press down into the soft coloured surrounding material to lever the ring from underneath. Alternatively you can use pliers with tape inside the jaws to stop them marking the ring.
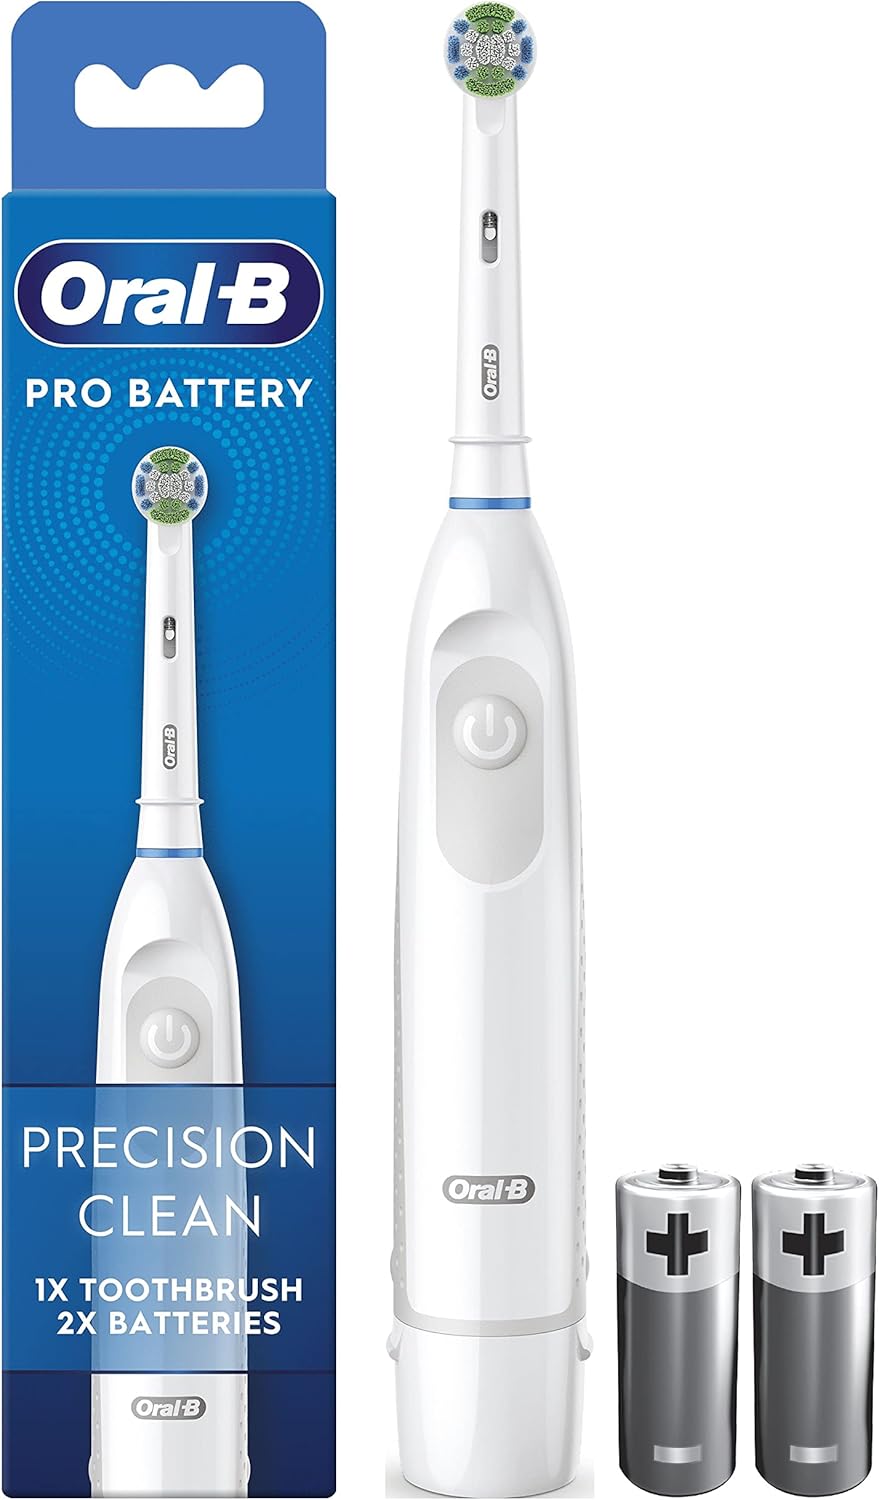
All system components (e.g., toothbrush handle, charger, power cord, SmartGuide). You do not need to include accessories like the brush heads or refill stand. The tip above about where to press the handle to get the base off was a great one and should be in the instructions. Additional heating did not hurt and nothing broke. The first piece to remove from the internal assembly is the power switch plate. This is clipped in on both sides at the top of the brush, see the arrows below. Carefully unclip it from one side, then the other: Make sure you are not charging the toothbrush on a metal surface. The metal can interfere with the charging process. To avoid brush head breakage which may generate a small part choking hazard or damage teeth: Prior to each use, ensure the brush head fits well. Discontinue use of the toothbrush if brush head no longer fits properly. Never use without a brush head. If the product is dropped, the brush head should be replaced before the next use even if no damage is visible.Compatible with a variety of Oral-B refill heads for every dental need. Brush heads should be replaced every 3 months. Depending on which model you have, it should take between 3 and 22 hours to fully charge the brush. If this hasn’t been your experience, there are a few things you can try. Then it’s on to the copper wire solder points for the charging coil (arrowed below, right) and the pressure warning light (arrowed below, left). Carefully desolder these and lift the wires away from the circuit board trying not to melt the plastic around them. You now have the option to either replace the old battery with one of the same physical dimensions or modify the plastic housing to accept a longer, higher capacity 49mm battery. Please support us with writing these repair guides by buying your replacement battery through the links to our secure online shop shown. The original-sized 42mm x 14mm batteries are 1200mAh capacity and the longer 49mm x 14mm batteries are 2200mAh, over 80% higher capacity! Higher capacity means your toothbrush will run for longer before it needs recharging. See the picture below for (left to right) replacement 42mm battery, original 42mm battery and replacement 49mm battery.
For other toothbrush models and type numbers the battery replacement procedure is slightly different so please see our other guides to toothbrush battery replacement instead. An excellent repair guide. I would not, however, recommend this as a first attempt at repairing anything. A very fine point soldering iron and needle nosed pliers are essential and great care must be taken. There are many very small surface mounted components and care must be taken to avoid displacement or damage of these. Similarly, the amount of solder applied should be minimal as components are closely spaced and short circuits must be avoided. Having said all this, if you have a toothbrush that doesn’t work, what have you got to lose? Just take your time and go carefully. This guide will take you step by step through how to dismantle the Braun Oral-B Professional Care Type 3756 electric toothbrush and replace the battery. The tutorial is based on the Type 3756 toothbrush but also applies to Type 3754 toothbrushes. These include the Professional Care, PRO and TriZone 600, 1000, 2000 and 3000 model names, and others. The type number of your toothbrush is marked on the bottom of the handle.
Video
With our Vitality and PRO toothbrushes, it can sometimes be difficult to know when they’re correctly switched off. If they’re on the charger while switched on, they won’t charge correctly. The best thing to do is to put it on the charger for 30 minutes or so, and then try to switch it on. If it switches on, that’s great, and it was correctly switched off while charging. However, if doesn’t switch on, that might mean that it wasn’t switched off during charging.
Be sure you’re charging for the full time noted in the manual. For iO series as of 7 it takes 3 hours. For iO 6, Genius and Smart range and Pro 3 it takes 12 hours. For our Vitality toothbrushes, that’s 16 hours. For the other brushes, they should be charged for up to 24 hours. I found the plastic of the battery holder to be harder than I expected and, although I removed most of the webs with a scalpel, I found a Dremel was good at removing the last pieces. If fitted, locate the solder point for the pressure warning switch (arrowed below) and desolder it. Then unclip the switch and put it to one side. Experience Oral-B Pro 3 from the #1 brand used by dentists worldwide. The sleek handle of the Pro 3 electric toothbrush helps you brush like your dentist recommends: It helps you brush for 2 minutes with the professional timer and it notifies you every 30 seconds to change the area your are brushing. While you are just moving the brush around your mouth, Oral-B's unique round head does all the rest.If it hasn’t already fallen out remove the spring from inside the coil in base of the handle and put it somewhere safe.
 Great Deal